
Lighting your walls to highlight artwork or other features may seem easy at first, but there is a right and wrong way to do it.
People ask me: “Craig, what is the most important feature upgrades you can make in your home to result in the maximum impact? It’s lighting, hands-down.
Somehow we become easily accustomed to (or settle for) poor lighting. Maybe we don’t like what we see when the lights are on! Well, we can definitely change that, but while you’re thinking about why your art doesn’t “pop” or have the same impact it did when you bought it, this is why.
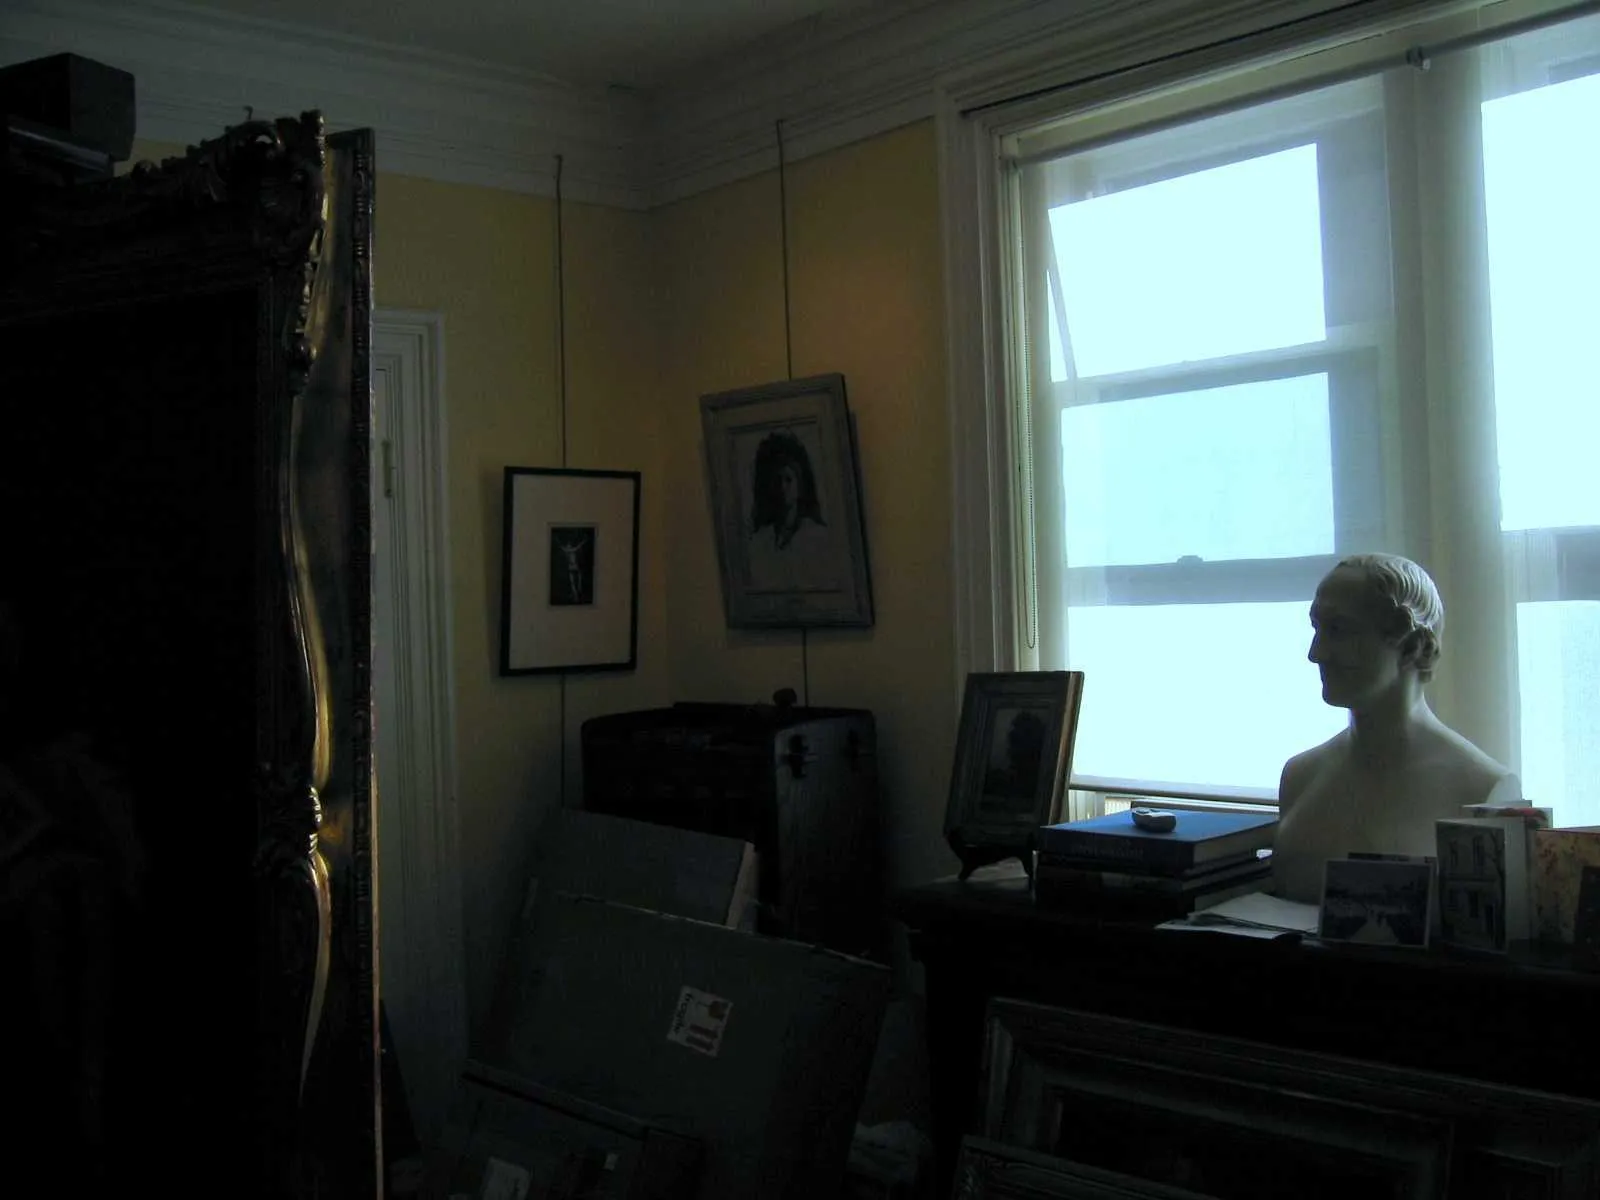
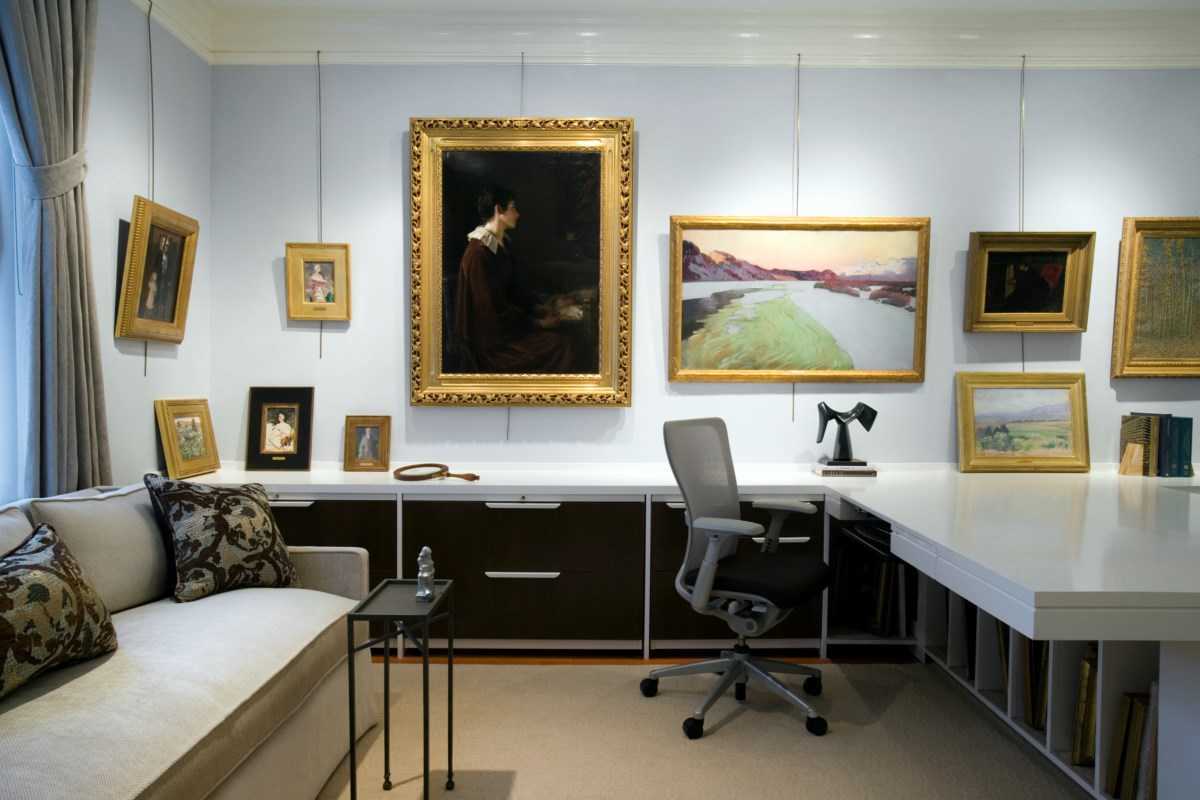
We know good lighting when we see it.
A fine restaurant or retail boutique invests heavily in lighting because it will create an atmosphere you won’t forget. Look up to the ceiling next time you head to a stand-out restaurant. Or look beyond cabinets, or behind banquettes.
You should not see where good lighting comes from. It just appears.
Where should you start?
Think about your lighting needs. Is there a logical grouping of hanging pictures you would like to highlight? Are there dark areas isolated to certain parts of the room? Ideally, the lighting plan should be part of the larger goal of how you would like your space to look and feel.
Generally speaking, illuminating the walls — with or without artwork to highlight — is the best way to create an ambient lighting effect. The reflection of the light will be softer and create a glow around the room’s perimeter, which is much more pleasing to the eye.
This can be accomplished with ceiling recessed or track lighting.
So, how far from the wall should the lights be placed?
Let the Electrician Decide?
Definitely no. Don’t leave it to chance. If the fixture is too close to the wall, there could be an unpleasant bright spot on the upper part of the wall and the lower part will remain dark.
If it’s too far, the light may not reach and illuminate the wall. Also, a shadow might appear as you walk along the wall. And in some cases, the refection of the light source will be noticeable in the glazing of the artwork itself.
The Answer is: Math (Trigonometry to be exact) !
Harken back to early high school. Maybe you learned how to calculate the length of the leg of a right triangle using something called a sine or cosine and pi. Remember tangents? SOH-CAH-TOA??
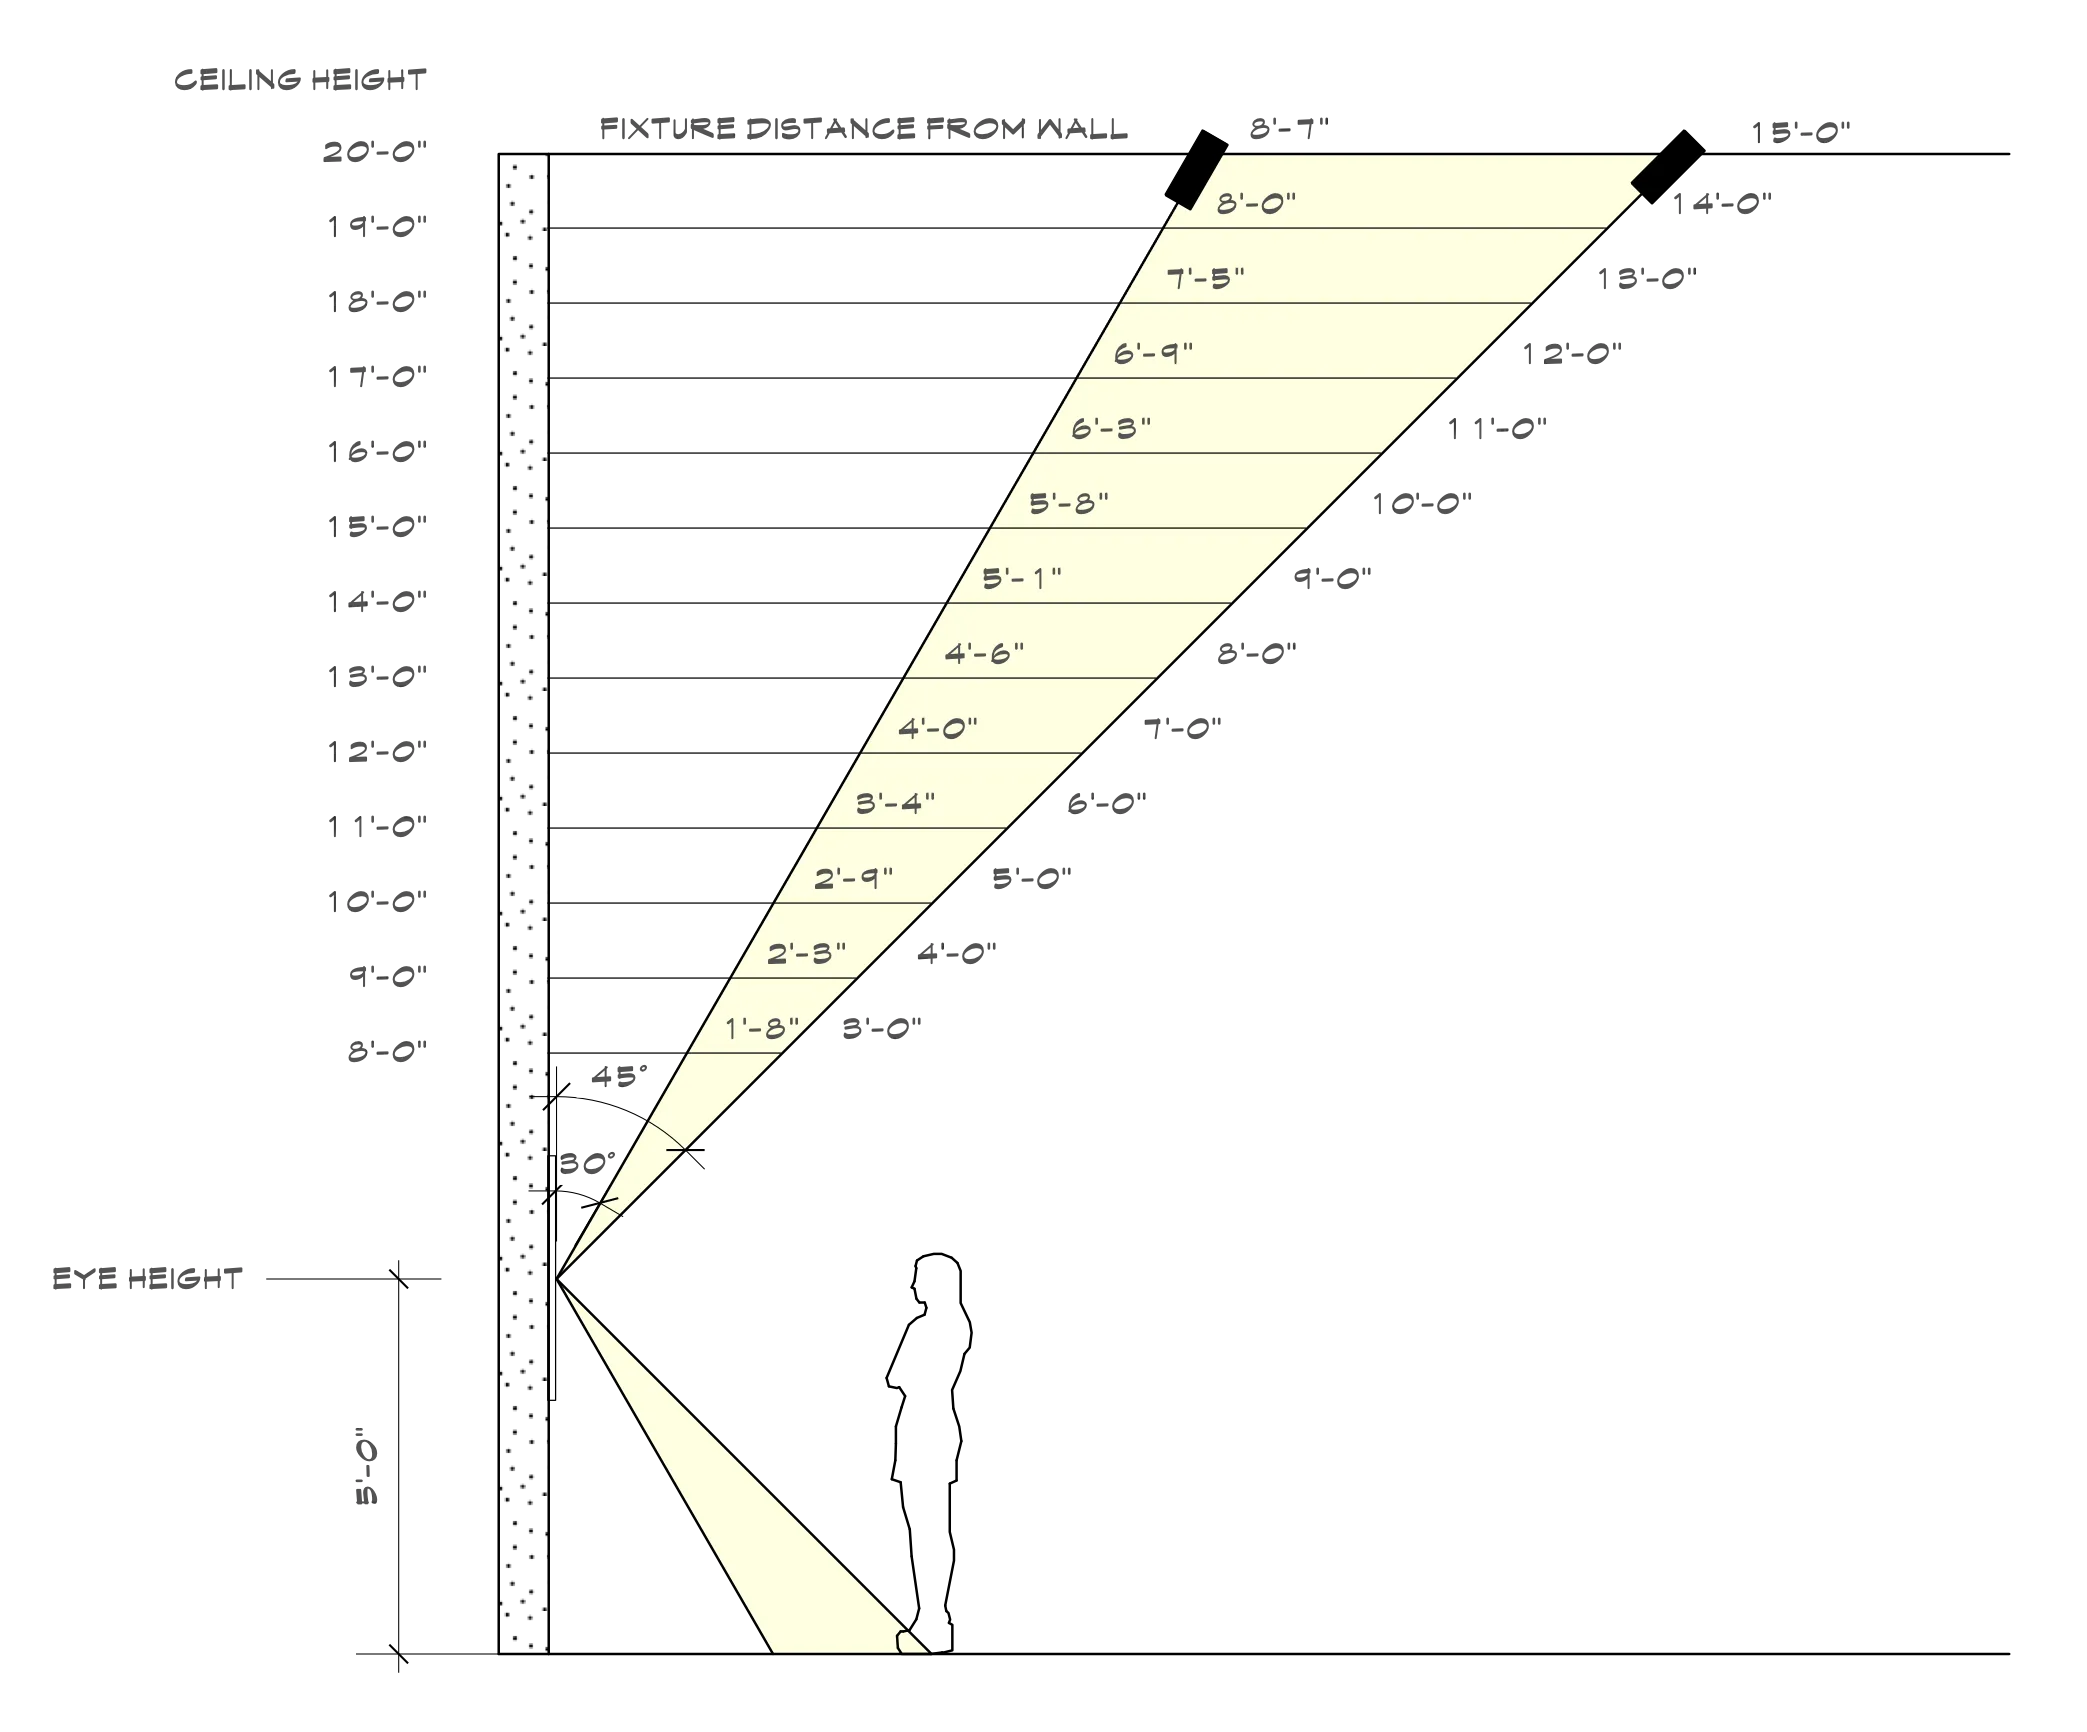
Well, you don’t have to remember, I created a chart. Here’s what you’ll need to determine exactly where to place your fixtures in a range that works for your needs.
Step 1: Identify your Ceiling Height
Seems straightforward enough, right?
Step 2: Determine your Fixture’s Adjustability
Fixtures such as track lighting can be adjusted from 0 to 45 degrees or more, zero being straight to the floor. For the purposes of this exercise, I assume a fixture that can aim between 30-45 degrees, represented below shaded in yellow.
Step 3: Hang your Art at the Proper Height
The proper height to hang artwork is at eye height. More specifically, my rule of thumb is that the center of the picture be at eye height, which is somewhere between 5′ and 5′-6″. Of course, much larger pictures should be adjusted up, but the flexibility of the chart allows for this.
Step 4: X Marks the Spot
Plug in the above numbers and you should have a good idea where to place your fixtures. For example, if your ceiling height is 9′-0″, your 30-45 degree adjustable ceiling fixture should be installed somewhere between 2′-3″ and 4′-0″ from the wall you are planning to light.
Choosing the Right Fixtures
I won’t lie — this is not the easiest part. Fixtures vary among countless features: intensity, beam spread, adjustability, color temperature, LED, halogen, dimming capabilities, lens filtering, switching compatibilities pertaining to home automation equipment, damp location safe, all of these varying in price and availability. The list goes on.
Consult an expert! Effective lighting is part of a multi-tiered design approach and shouldn’t be left to chance. Every detail should be tended to when laying out a lighting plan (often referred to as a reflected ceiling plan). Getting the most appropriate product for the job, that accomplishes the requirements and suits the budget, requires experience.
I wanted to shed a little light on that process for you.
And Finally …
Don’t forget your dimmer switches, ever.
Like what you’re reading? Stay in touch with monthly (or so) e-mails.
